
About a year and a half ago, I came to Diyode for three things. I wanted access to a 3D printer. I wanted a place where I could learn to solder. And because I was new to the country, I wanted friends.
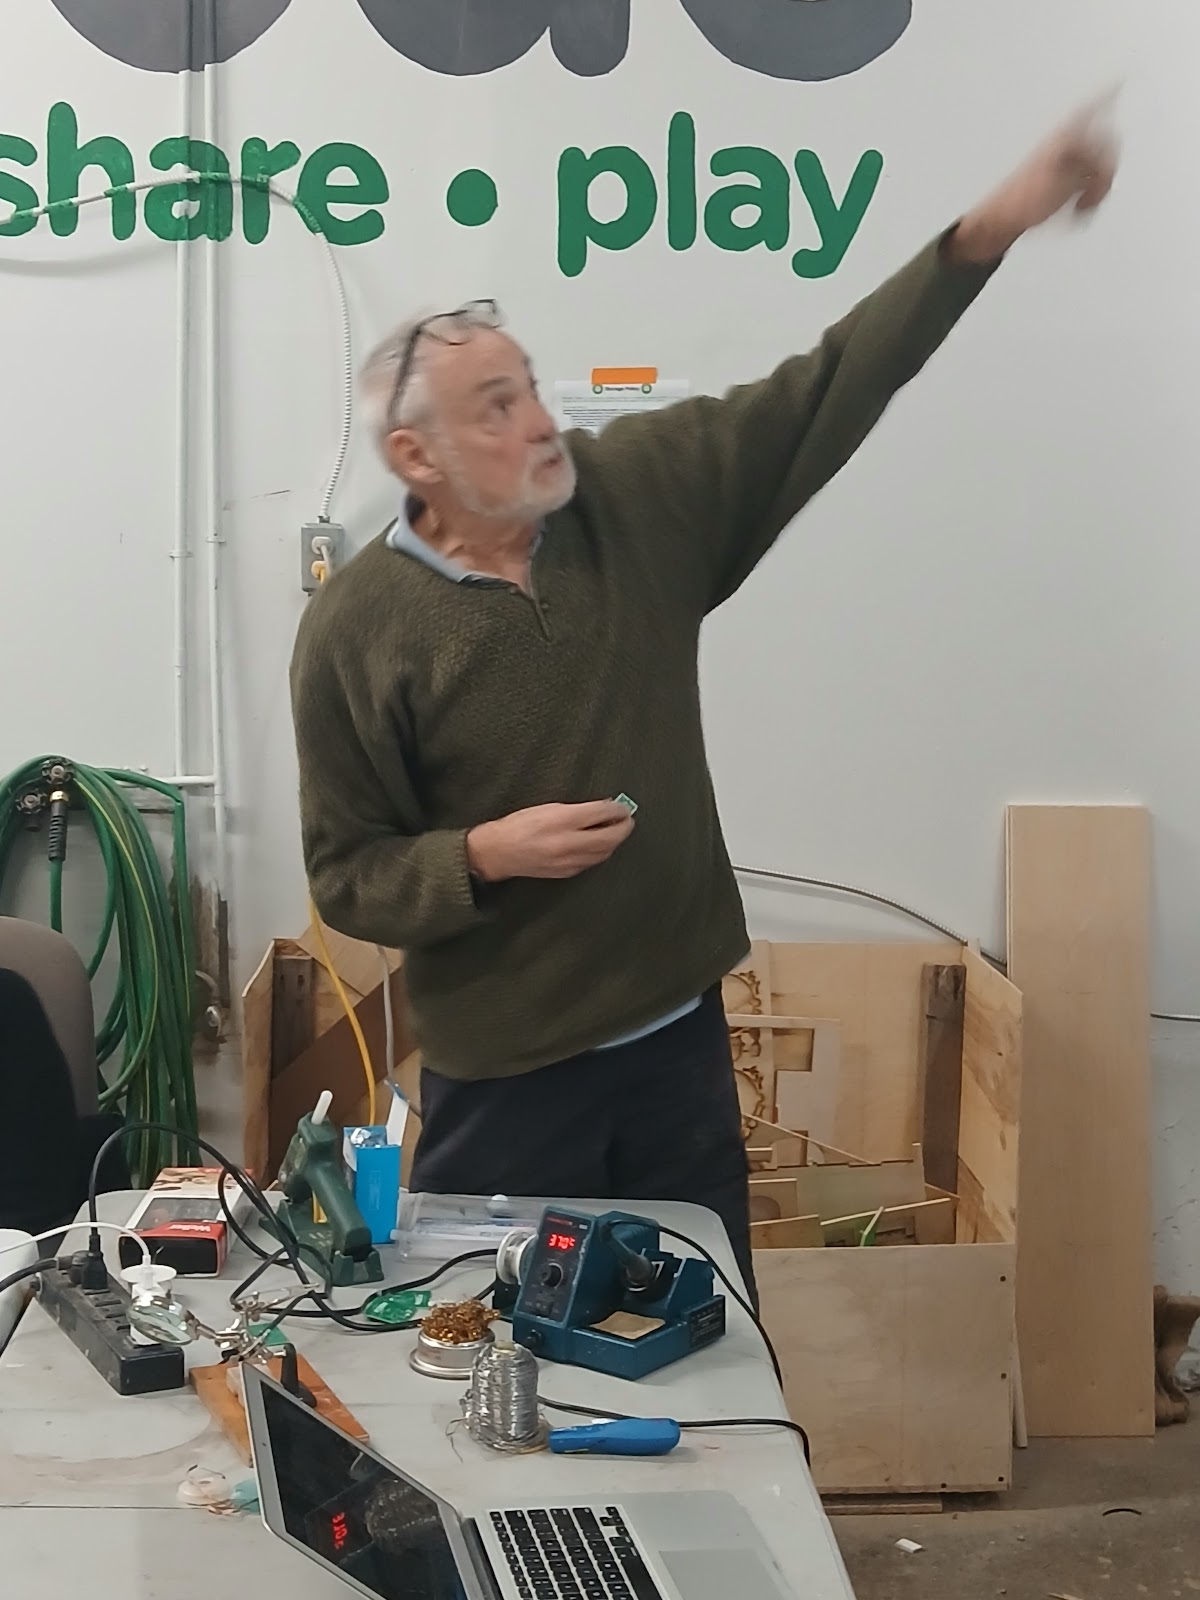
One of those items was solved because my dad got a nice new 3D printer, so I got his old one. The other two were largely solved by Cliff Gates. One day I’ll do a post on my slapdash DIY laptop project, but for now, the important part of that story was that Cliff was the one that hung out with me and got me comfortable soldering and testing components on the device’s hand wired keyboard. He’s also one of the folks that I meet and chat with almost every time I stop by Diyode on Monday nights. He’s a good dude, and a wonderful resource if you’re getting into electronics. Obviously, he’s not the only good dude (there were many folks at Diyode that welcomed me and I now count as friends), but he is the one that recently put on an electronics workshop, which is what today’s blog post is highlighting.
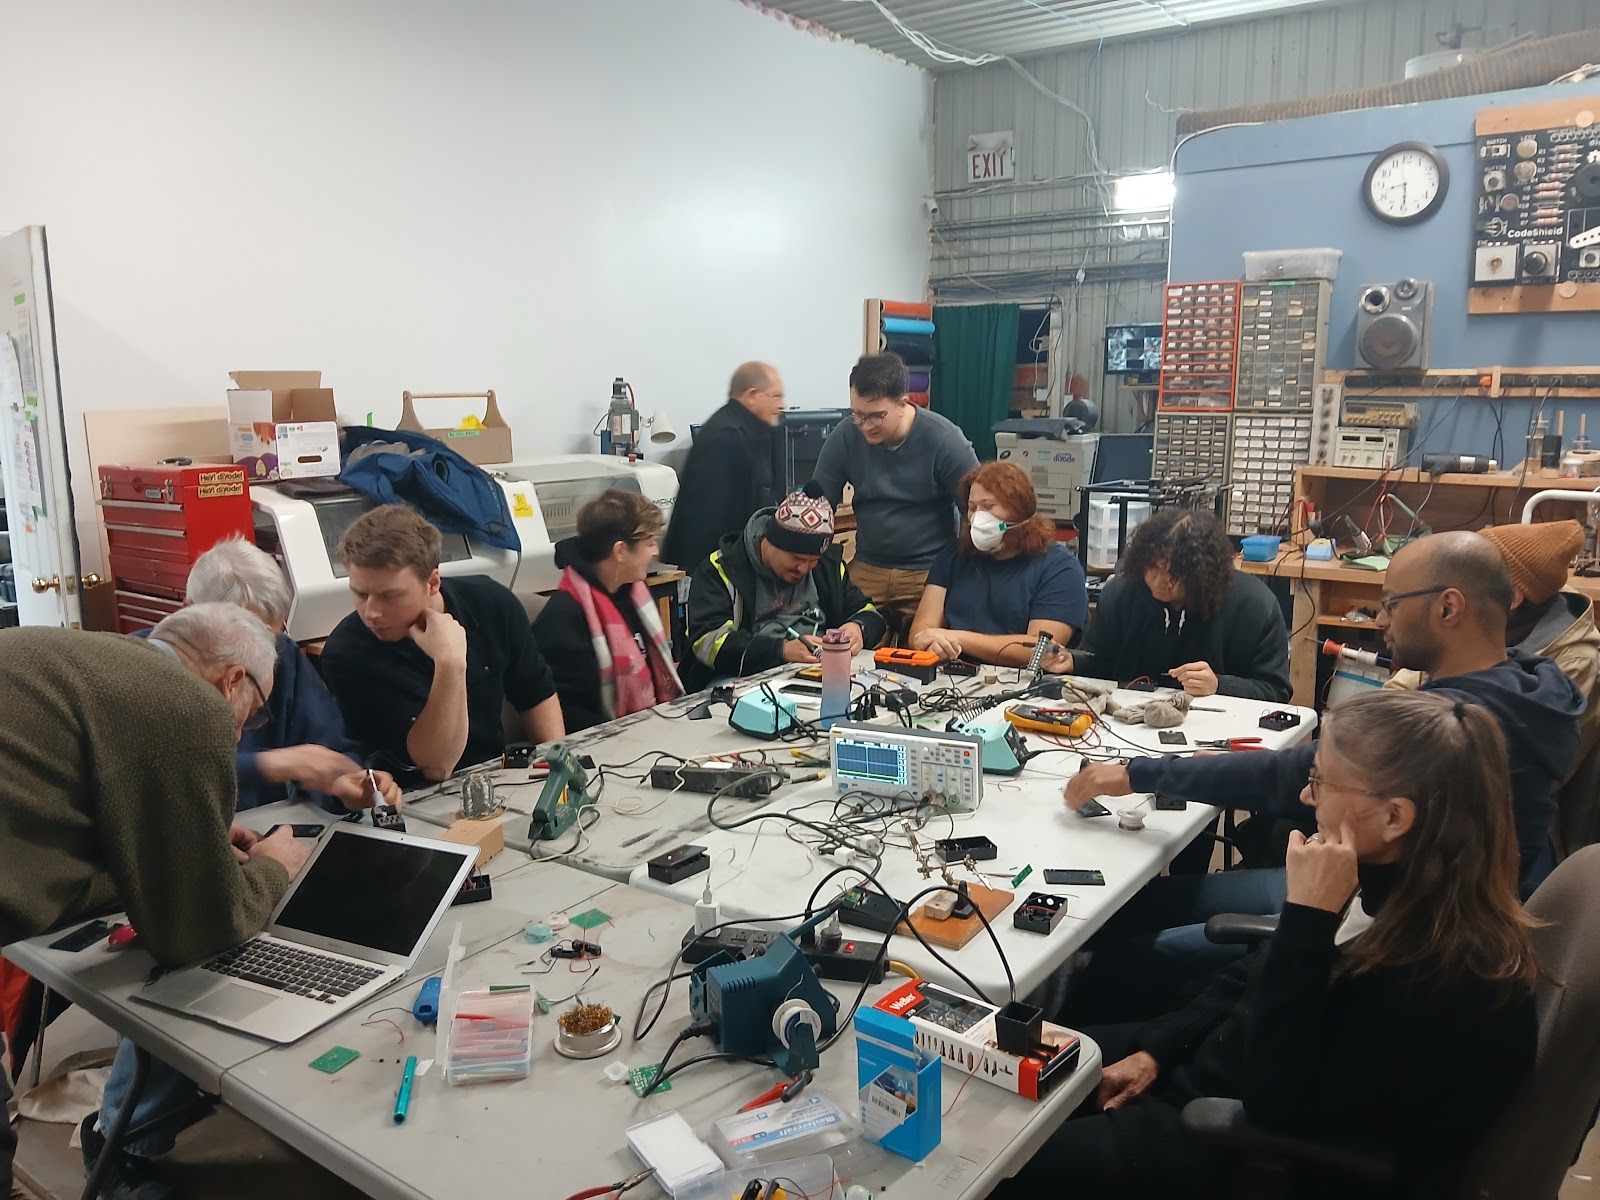
Cliff has a degree in electrical engineering, which he previously put to use as a field technician working on large projectors here in Canada and in the United States. After retiring he was looking to do more creative work and found his way to Diyode around 2017. Since then he has put effort into a variety of maker and arts related projects, but has put special focus on developing the shop’s electronics area. For this workshop, Cliff walked us through the development and assembly of a motion activated, battery powered night light.
Before putting hands on any components, Cliff wanted us to have some idea about what those components were. It was clear to me that the goal was for folks to walk away from the workshop not just with a fun little device, but also some basic understanding of fundamental electronics concepts. To keep this post from getting too long, I’ll share the big one.
Ohm’s Law
V = I x R
Inside a circuit, voltage equals current times resistance. Without getting too involved (I AM NOT AN EXPERT):
Current (I) is the amount of electricity in your circuit.
Voltage (V) is the pressure or push behind that current.
- The components of your circuit will probably require voltage and current in certain ranges.
Resistance (R) is the amount the electricity is restricted or slowed down in a circuit.
- Many components in your circuit are going to create some amount of resistance, or are there just to create resistance.
There’s more to how these factors interact in a circuit based on being in parallel or sequence, and how you measure voltage versus how you measure current, but I’ve come to understand Ohm’s law is the foundational bit of knowledge you need to get started in electronics.
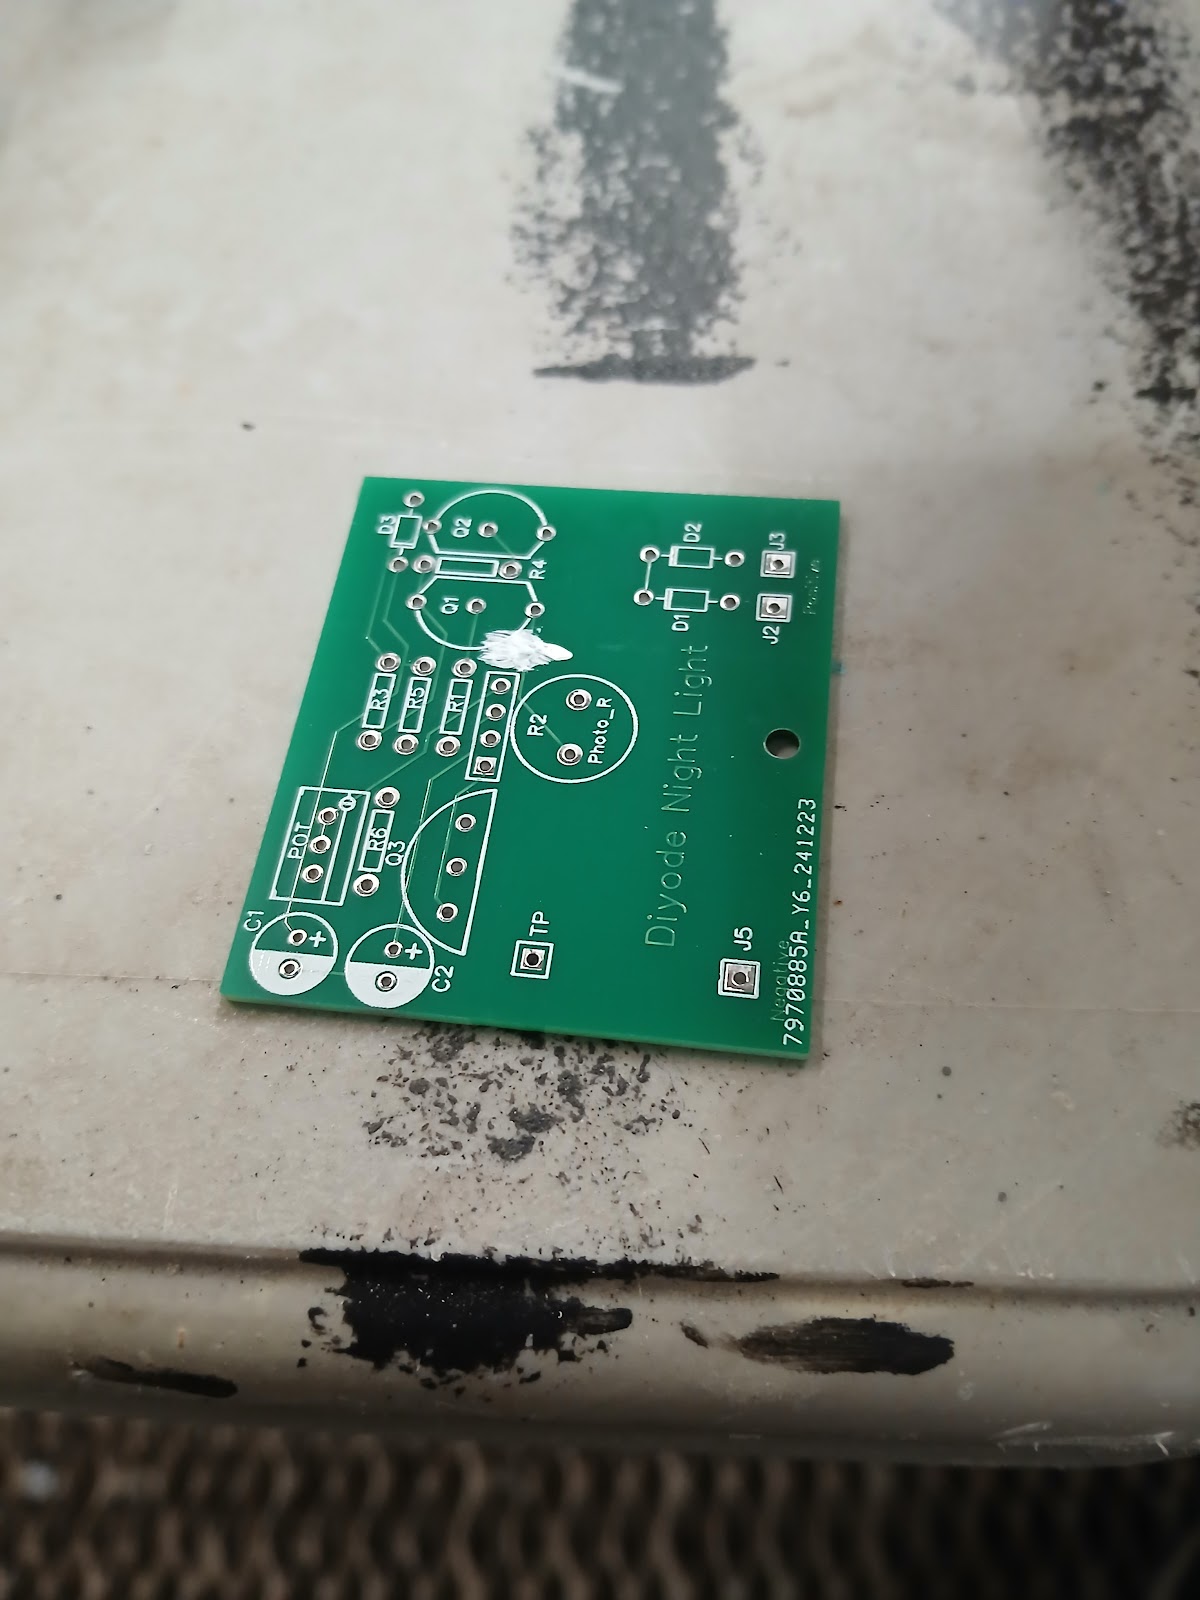
After covering some fundamentals, Cliff started handing out components. The core of the project was a circuit board which Cliff designed and then ordered from a company called PCBway. If you get into circuit design, you’ll hear that name a lot. I asked what the main challenges were in designing this project, and he told me that he really wanted it to be built from off the shelf parts. This led to a design constraint where the entire design needed to fit in the small cases he was able to source.
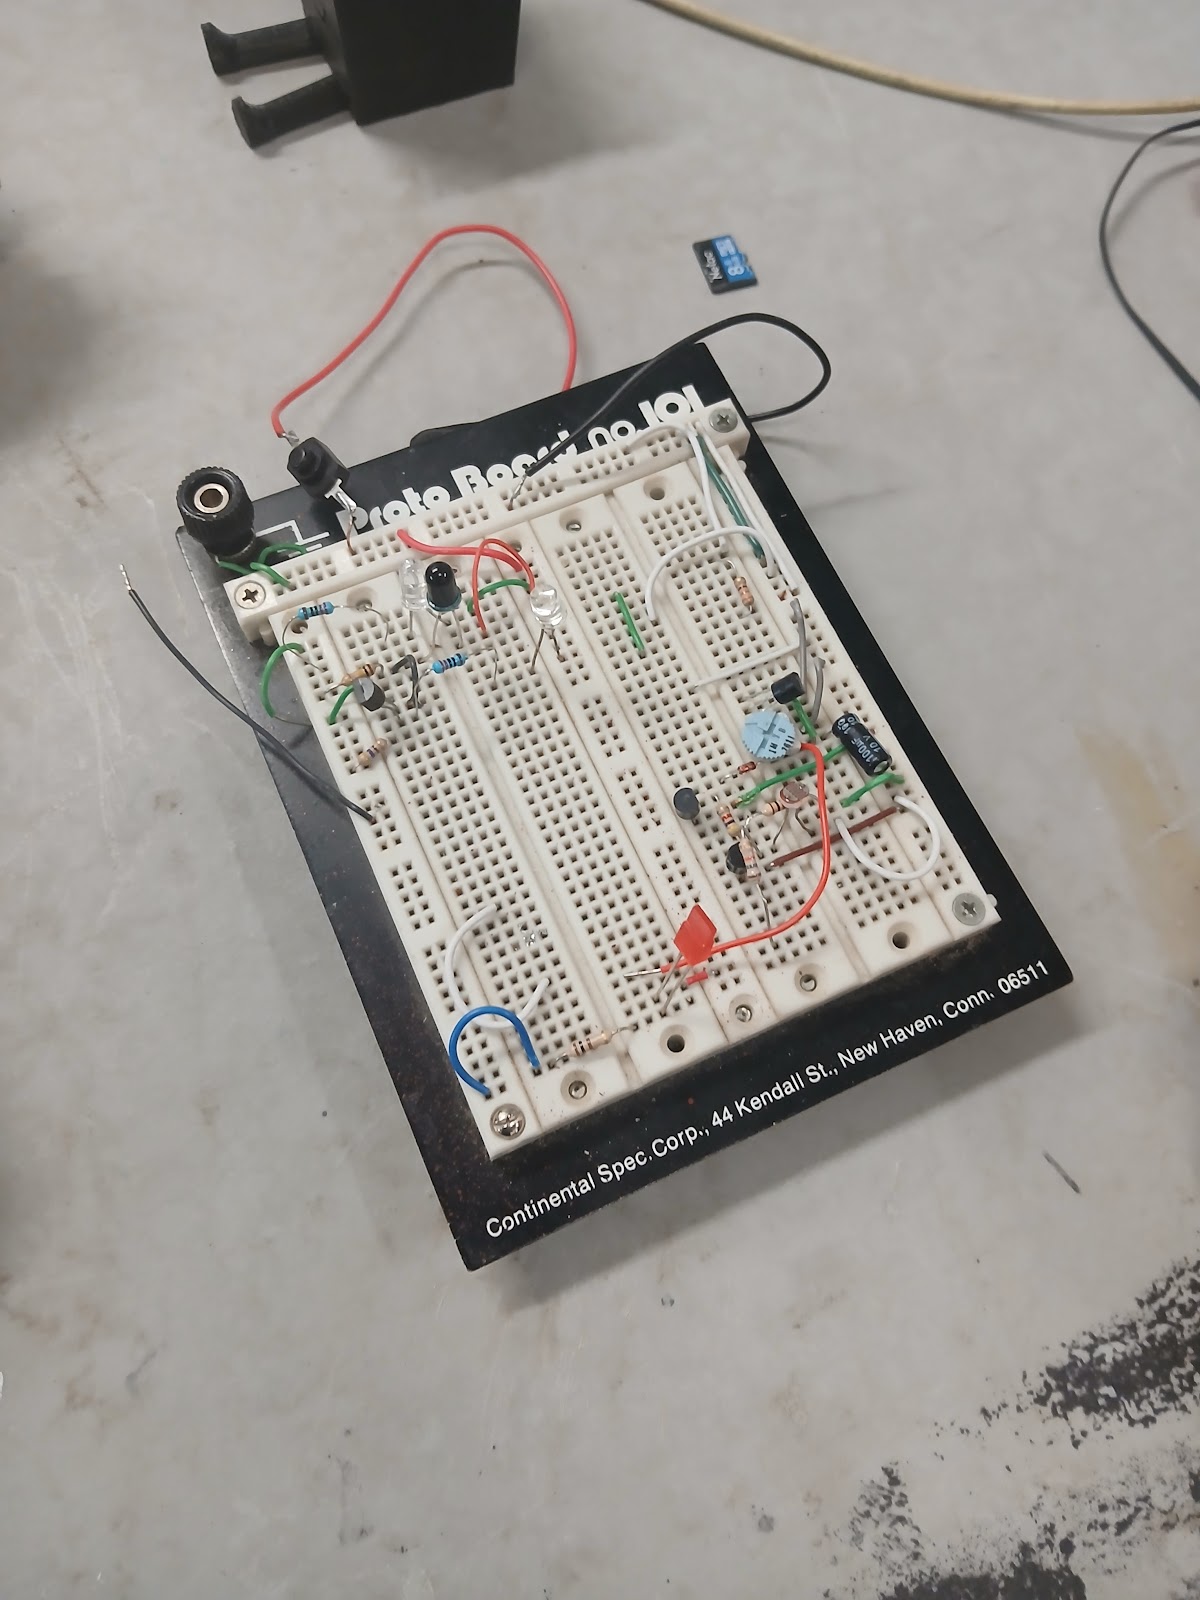
Designing the board has to start somewhere though, and that somewhere is a breadboard. A simple and essential tool for working with electronics, a breadboard is simply a plastic rectangle with a series of conductive contacts running through it. You can easily route wires and components and LEDs in one of these to try out a circuit. After that Cliff designed the PCB itself in a program called EasyEDA.
There are other board designers out there (if you’re interested also give KiCAD a try) but ultimately it’ll generate a file that you can send off to a printer like PCBway, who were generous enough to sponsor our workshop with free boards. Once your board arrives, it’s time to solder.
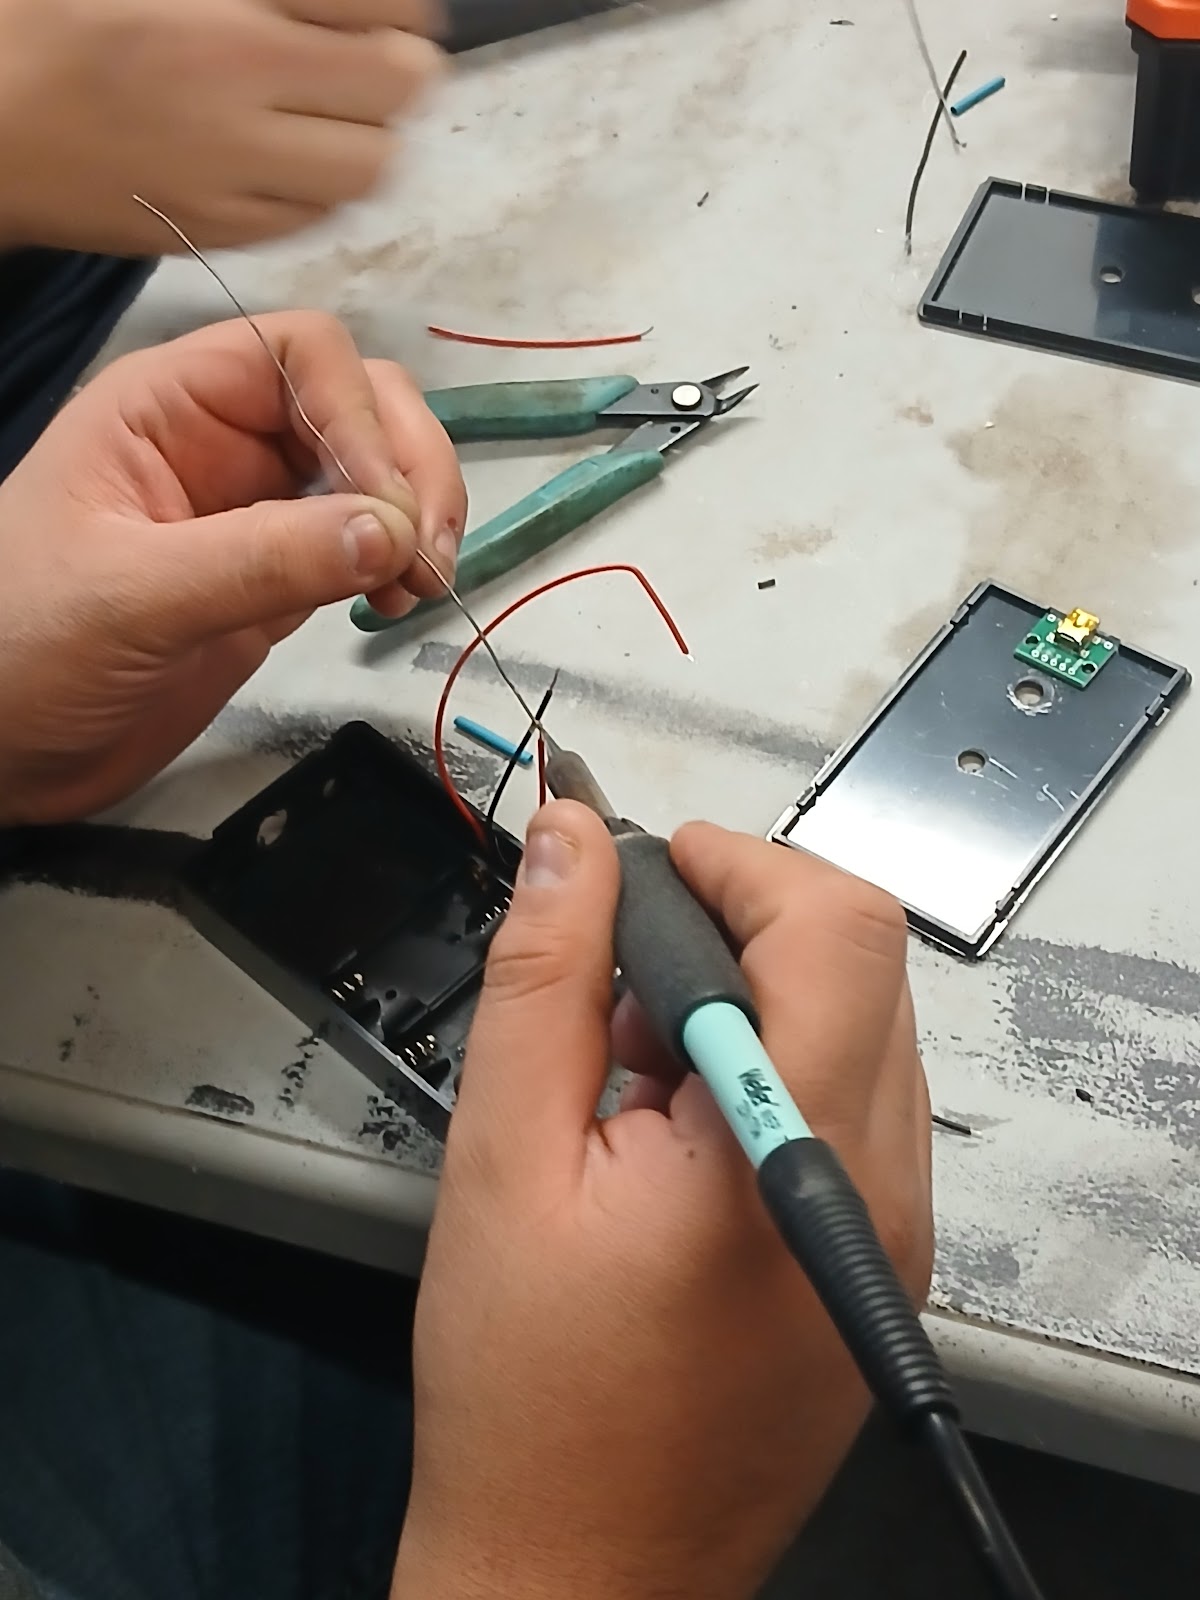
Until trying my hand at it myself, I didn’t actually know what soldering was. It was a thing techie characters did in movies, and I feel like sparks happened a lot when they showed it on screen. There will not be sparks when you solder. For the uninitiated, it’s really quite simple. The circuit board you’re going to solder things to has holes to stick the components in, and those holes are connected by conductive pathways called traces. All you’re doing when soldering is melting a little bit of conductive metal (solder), to mount your components in the holes, thus completing the circuit. Here’s what you need:
- A flat surface
- A soldering iron
- Solder
- There are multiple kinds, but you should avoid the lead based kind. It melts at lower temperatures, but also, breathing lead is generally considered bad.
- A wet sponge
- This is for cleaning the tip off the soldering iron as extra solder builds up on it.
- Alligator clips
- These will hold your components in place as you solder them together. Not strictly necessary, but you will be much happier with them than without.
You want a clean, well ventilated work space, and to set the heat of your soldering iron in the range of 316-370 C or 600-700 F. If you have them, it’s best practice to wear safety glasses, and I wear a face mask if I can, because even the non-toxic stuff gives me a minor headache if I’m breathing it in for too long. Lastly, conventional wisdom is to heat the lead of the component, and then touch the solder to the lead, not the iron. The heat of the lead should be enough to let the solder flow to the contact point.
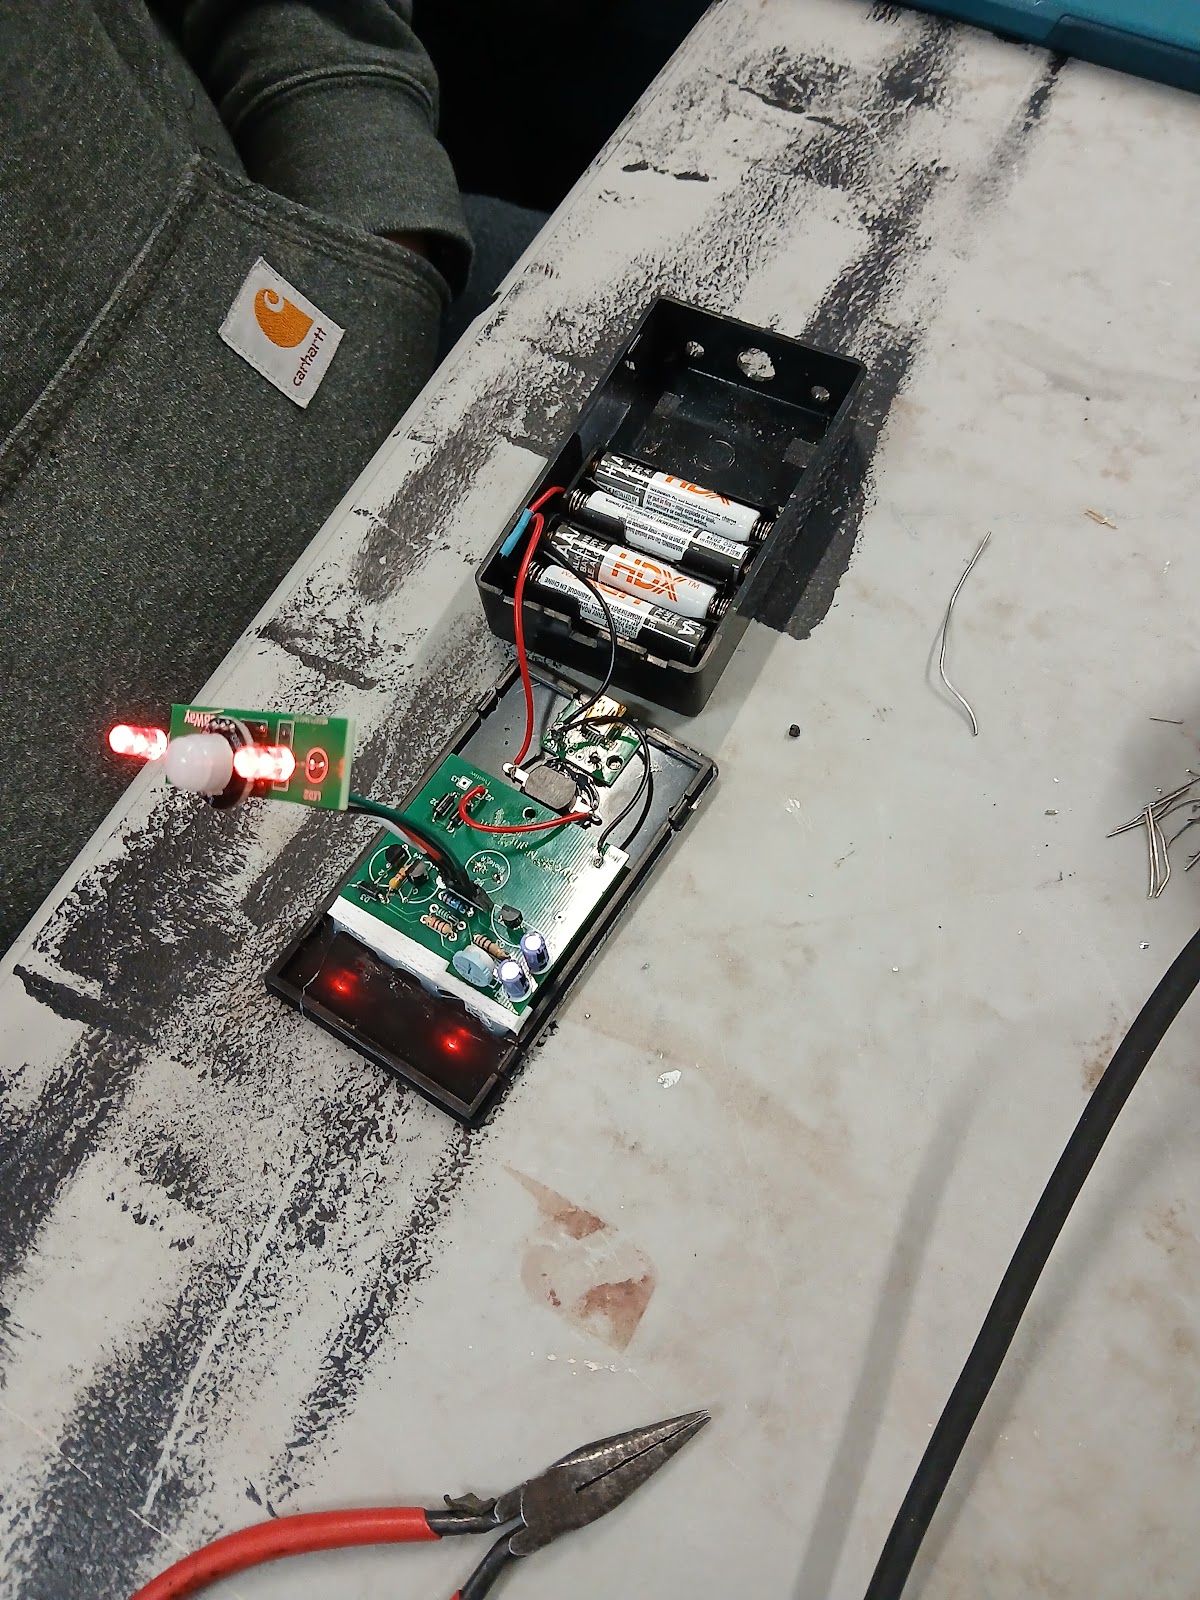
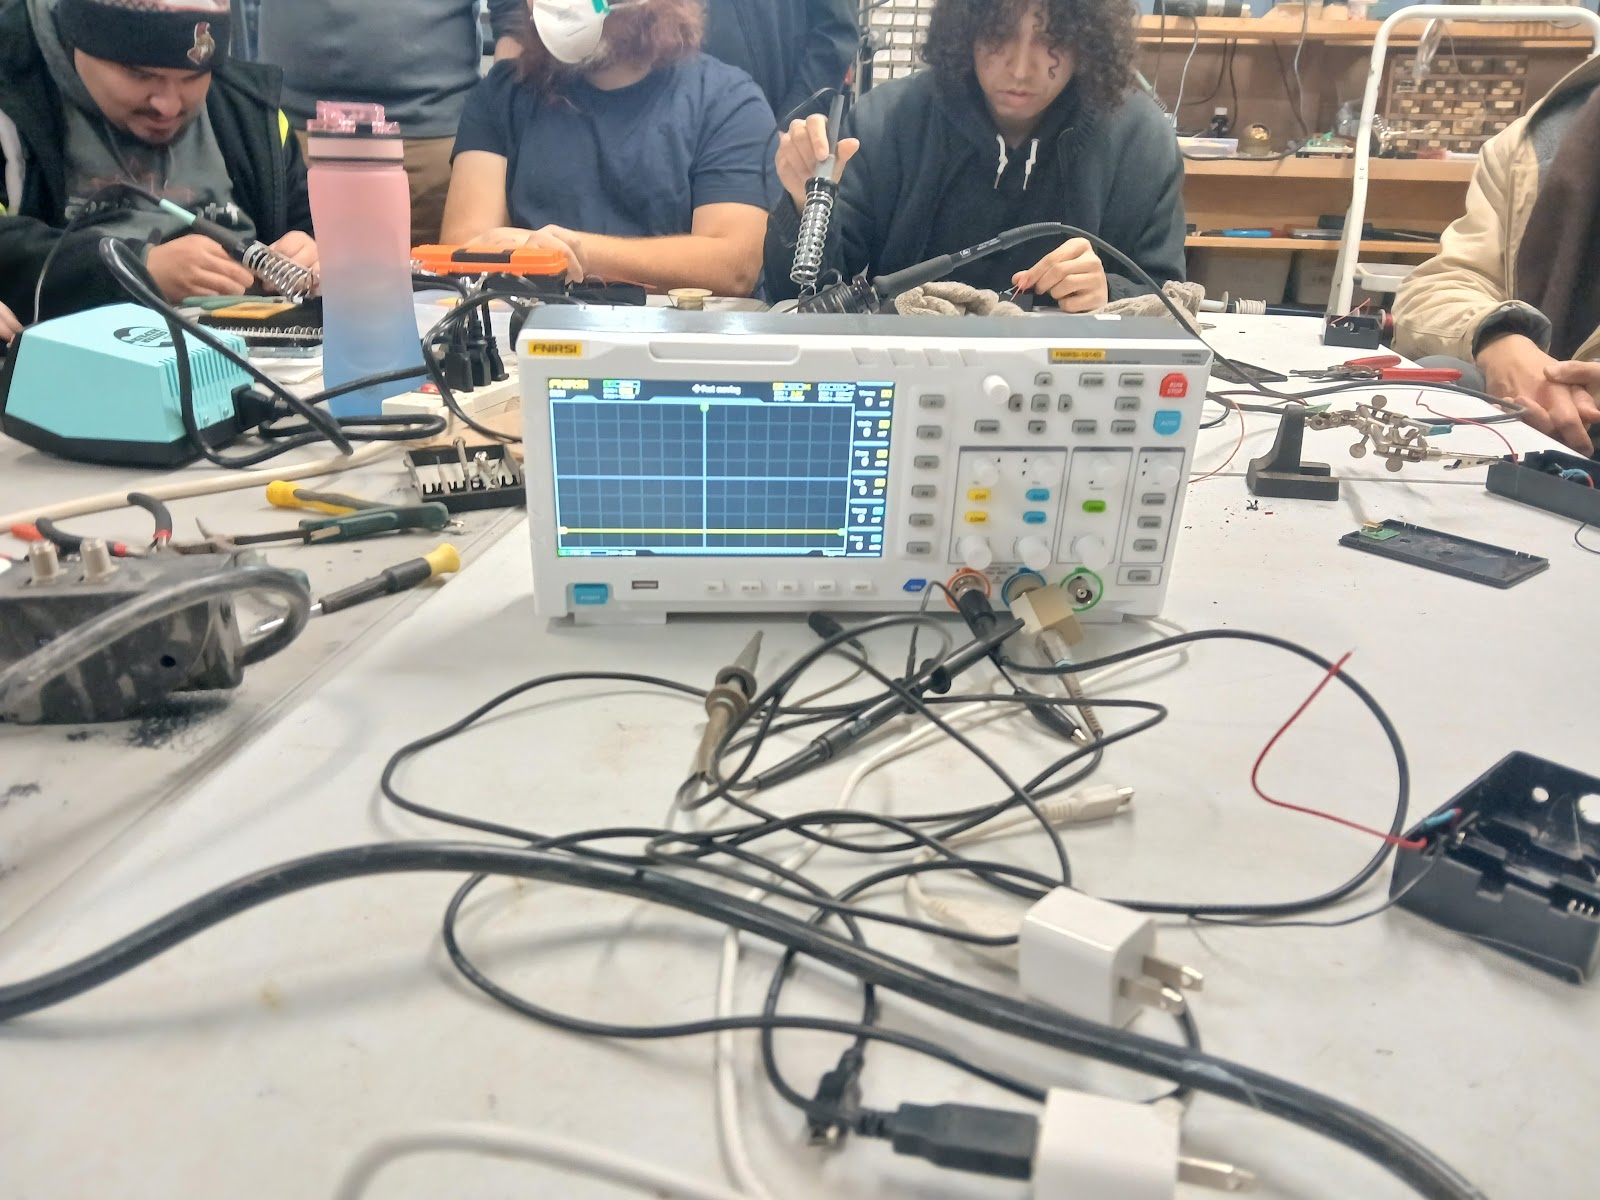
Once you get into a flow, soldering itself is fairly simple and quite satisfying to do. Once parts were distributed to the group for the night light, and everyone had a little practice, the devices came together smoothly. If you’re looking to get into electronics, there seems to be growing interest at Diyode, so don’t be afraid to ask someone. Cliff certainly seemed interested in doing another workshop down the line and mentioned a particular interest in working with Arduino microcontrollers and Raspberry Pi single board computers (ask me about my terrible DIY laptop). There’s always more to learn, so be sure to stay up to date with upcoming Skill Forge workshops.
Until next time.
Leave a Reply