For context, when I think of leather, I’m thinking “the heaviest armor you’re allowed to wear as a rogue.” Leather is flexible and in contrast to something like platemail (yes we’re still in DnD land) isn’t something you forge. If it’s not something you forge, it’s more like cloth, so it’s got to be something you sew.
This is the winding train of thoughts which lead me to being so so wrong. Leather is very much not like cloth. Whether or not you got to the same place is probably predicated on how much of your life is contextualized by video games and fantasy RPGs.
It was through attending Gavin Davidson’s workshop that I learned leatherworking is much more like sculpture. Gavin is a leatherworker here in Guelph. His work can be seen posted on his Instagram(@seamingly_normal) and his website(seaminglynormal.ca). Initially working with sturdy textiles to create outdoor gear, but Gavin found leather to be a more popular and rewarding material. Not only did it resonate more with his customers, but the hands-on, meditative process of leatherworking also drew him in. This isn’t to say Gavin’s approach to his work is entirely mercenary, as he expressed to me that he found leatherworking a simpler, more satisfying process. The process is more hands on, and the sewing process is almost meditative. Gavin was certainly experienced in his craft, having told me his favorite project was an old leather jacket into a duffle bag. And even though this was his first time running a workshop, he was a very patient and attentive teacher for those attending.
One take away that Gavin left me with was that there were a huge number of leather working techniques, so how one person goes from raw materials to a leather jacket may be different from another. Still, I’ll do my best to give you the broad strokes of the leather working process.
- Dye prep – The leather needs to be prepared to take the dye, so we start with treating it with a substance called “Neatsfoot Oil”.
- Dying – Once the leather is prepared, we’ll actually take some dye and apply it to the leather. Gavin recommended doing this with something that won’t absorb the dye itself with rabbit’s fur being the best for this, and paper towel being the worst. Just like paint, there’s a good chance you’ll need to do several layers, giving each coat a chance to dry.
- For thinning the dye, Gavin suggested using methyl hydrate instead of commercial ‘dye reducer,’ as it’s cheaper and easier to find in the auto aisle.
- Cutting – Rather than just taking some sturdy scissors to your leather, Gavin suggests tracing and cutting with an exacto knife. Double-sided tape can hold pieces together temporarily, or you can use glue after texturing the surface for better adhesion. If you’d rather use glue, be aware that glues will alter whatever colors you’ve dyed.
- Stitching – So this is the big thing that made me go “Oh! So not like normal sewing at all.” Leather is thick and tough. This is great for making sturdy, lasting items. It is not great for passing a needle through. So:
- First we’re going to crease and fold the leather along the stitching lines.
- Then we’re gonna grab a hammer, and this thick fork looking tool called a stitching iron. You’ll want your surface set up so that you’re hammering onto something sturdy and solid, but also with a soft layer under the leather that the iron can punch down into.
- Next if your thread isn’t waxed, you’ll need to do that. Yes, thread for leather comes in a waxed variety.
- Finally, you’ll want to actually stitch together your pieces. You’ll want thread about 5 times the length of the stitching run. If you can, there is a special sort of clamp called a stitching saddle you can set your pieces up in to hold them together while you stitch. Once you’re at the end, you’ll burn the stitch closed.
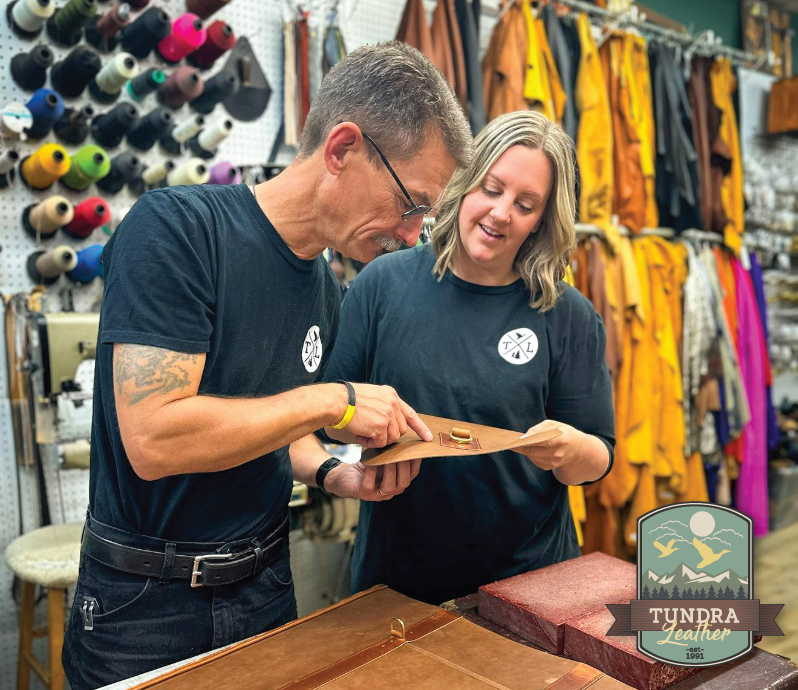
This is not a comprehensive guide. Along the way, you’ll want to do some detail work like rolling patterns into the leather, or using a laser cutter to burn in some designs. Somewhere in there you’ll probably want to do some edge dying, separate from the surface dying of your pieces. This has just been a very surface level overview to give you an idea of what leatherworking is like. For the love of the project you’re dreaming up, please do not use this in anyway as a real guide. If you are interested in picking up some supplies for a project, check out our good friends at Tundra Leather – Instagram(@tundraleather) and website(tundraleather.ca). Peter, Kristi and Sean are always incredible helpful with answering questions and are passionate about supporting burgeoning new leatherworkers! They even sponsored the workshop with supplies and gift basket of leather tools.

To that end, I can give you some concrete advice that Gavin passed on to me in terms of how to get started. First, watch a lot. There are resources all over the internet where you can watch folks trying different techniques and processes, before you take the plunge yourself. Second, start with small simple projects, like a keychain, and use scrap leather. Leather is expensive. Don’t be afraid to pull apart things you find in thrift stores.
If you’re at all interested in trying some leatherworking but missed the workshop, keep your eyes on the Diyode events page, as I’m sure this won’t be the last time Skillforge hosts leatherworking.
Until next time.

Leave a Reply