
Month: February 2014
-
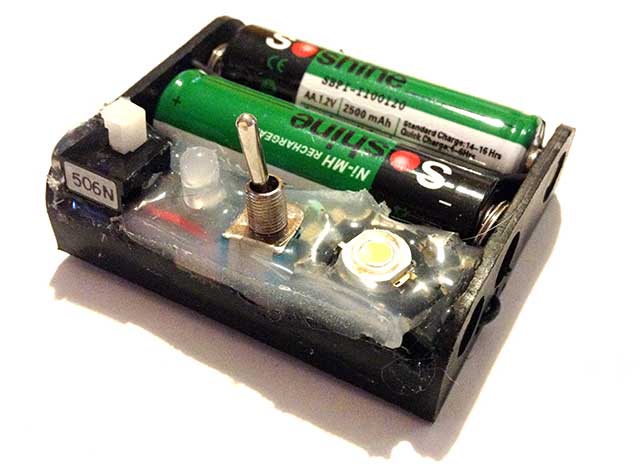
The Sleep-over Machine
So this little project came about because my younger daughter was having trouble with the concept of sleeping over at her grandparents house. We were at Diyode one Saturday morning, discussing what we could do about it. We decided to make a machine that would imbue her with the super power of Sleepover. Scrounging through…
-

Pokémon Shiny Charm and Friend Safari – preliminary data
When I earned my shiny charm, my daughter and I were discussing how useful it would be to know if it changes the shiny rate in friend safaris. We wanted to see if we could collect enough data to have an answer. We knew we needed an automated solution though, because we aren’t that dedicated. We…
-
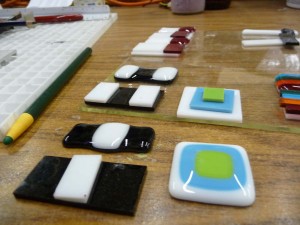
Introduction to Glass Fusing in the Kiln
Glass has been a fascinating medium for both practical and artistic works for millennia. Imagine our delight when Annie joined Diyode and brought her glass kiln with her! Last Sunday, she showed us some projects and helped us understand how to use her kiln. ” Fusing” glass is…
-
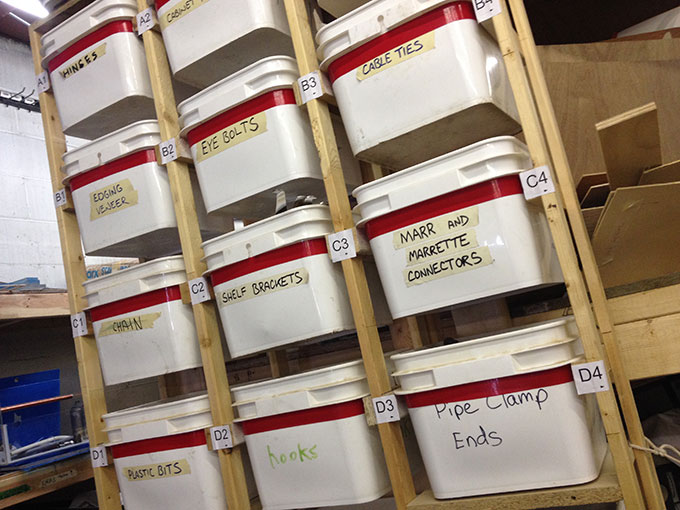
The Bucket System
Over the last year or so, we’ve been putting a lot of effort into sorting what we have, rather than acquiring more stuff. A large part of this has been sorting out all our various resources using free buckets from a local coffee pub. The system has been successful enough that I feel compelled to…