
Month: February 2012
-
Tool-Chest Made by Hand
After coming to terms with my woodworking addiction last summer, I started seeking a way to get a fix while at university. Luckily I happened upon DIYode! My first project was a tool chest, found in Tom Fidgen’s book “Made by Hand”. It’s made with poplar and walnut. For anyone interested in this plan, you’ll…
-
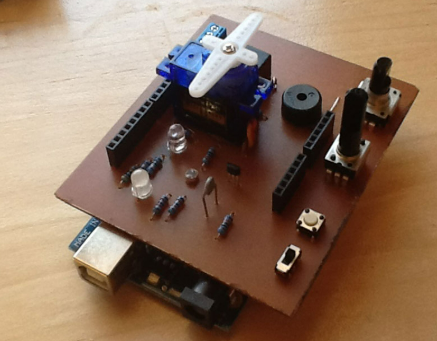
The Diyode CodeShield
Like many other hackerspaces, Diyode has been running arduino workshops as part of our community outreach. Typically, we’ve started with an intro to the concept, built a simple button/led circuit on a breadboard, then coded it up. People with a natural aptitude for this kind of stuff do okay with that, but we’ve seen a…
-
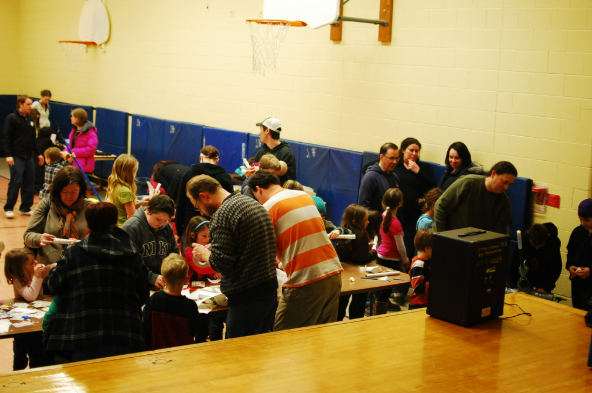
Tytler School Demo
We showed off the rocket launcher at Tytler school the other day. We brought the kids plenty of candy – but to get it they had to make an armor piercing rocket 😉 They got pretty clever pretty fast… Rocket Launch Video